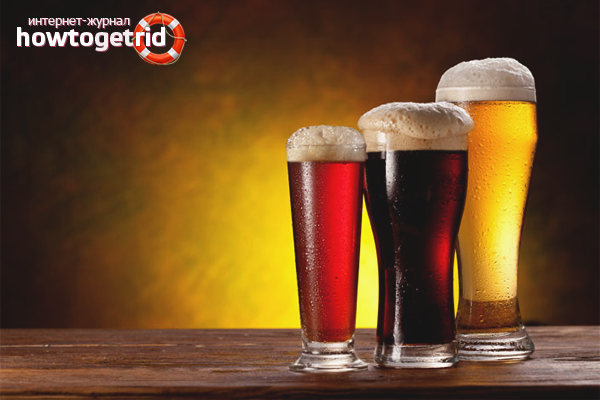
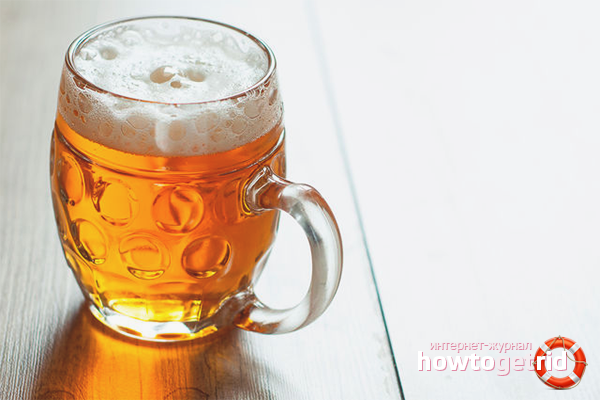
The content of the article
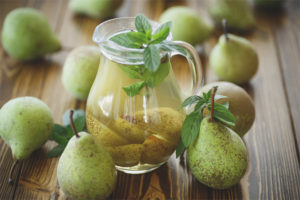
Many believe that to make quality beer at home, you need to buy a mini-brewery, but this statement is erroneous. By and large, expensive equipment is directly imposed on manufacturers by manufacturers, this is a marketing move, nothing more. Along with the equipment, the sales manager gladly “sucks” in you a ready-made concentrate for dilution and fermentation. To avoid this, consider important aspects and the classic beer recipe.
The components of homemade beer
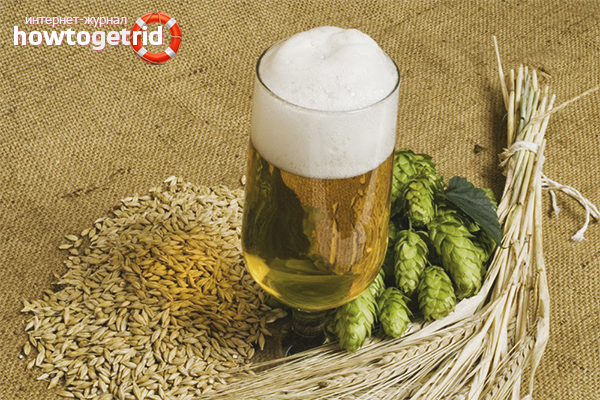
To make beer at home, the first thing you need to do is familiarize yourself with the main ingredients that you will need. Each component has its own characteristics and must meet certain requirements.
Malt
Ideally, a good-quality product does not sink in water, it produces a pleasant aroma, has a sweetish taste and a whipped shape. When cut, the inside of high-quality malt is whitish in color, not brown or red.
In order to be able to use the product as the main component of beer, it must first be soaked and grown at a temperature of 14 to 27 degrees, then removed and dried.
The last point is the most important, the color of the future foamy drink depends on the proper drying of the malt. If you want a darker beer, dry the malt in the oven, lightly roasting it. If the goal is to make a light-colored beer, dry the malt naturally.
After drying, it is necessary to grind the product in a convenient way until the formation of cereals (not dust). All of these actions will take you from 4 to 6 days.
Water
For brewing beer, only pure water from the Artesian well is used. The main advantage of purchased water is considered to be thorough processing and passing through bacteriological control. If it is not possible to purchase it, pre-filter the liquid and let it stand for two days. Water should not have a strange taste, smell or color.
Hop
The density and taste of future beer depends on the right choice. Carefully consider the raw materials, give preference to cones of yellow-green or red shades, in which yellow-beige dust is present under the scales. It is important to know that the bumps should not be dirty green or brown.
Yeast
Everything is much simpler here. Live beer yeast is used to make frothy beer. If you could not get a beer, buy the usual.
Sugar
The product serves to naturally saturate beer with carbon dioxide. Brown (cane) sugar is preferred. For an accurate calculation of the amount, it is necessary to be guided by the proportions: 9 grams per 1 liter of beer. granulated sugar.
Home brewing technology
We will present you a classic recipe, thanks to it you can get both dark and light beer at the exit. As mentioned above, it all depends on the technique of drying the malt.
Essential Ingredients:
- hop cones - 50 gr.
- pure water - 27 l.
- barley malt - 3.5 kg.
- live brewer's yeast - 30 gr.
- sugar - 210 gr.
Tools required:
- Dark plastic bottles for filling the finished product.
- 7-8 meters gauze. An enameled pan of 27-30 liters for cooking wort.
- Container for fermentation of the composition with a tight-fitting lid (preferably a water seal).
- Thermometer for precise temperature control. Rubber or silicone hose with a diameter of 1-1.5 cm. For filling the drink.
- A bathtub filled with cold water and ice cubes is needed to thoroughly cool the wort.
- White capacity and iodine to determine the presence of starch. A hydrometer, as well as a wooden spatula with a long handle for mixing the composition.
Stage number 1. Instrument sterilization
An important point in making beer at home is complete sterility. Otherwise, you will not get beer, but a mash. Wash the tools in advance, spray them with hot water, wipe them dry and dry until the moisture evaporates. The thermometer should not be doused with boiling water, wipe it with a wet sponge.
Stage number 2. Wort making
As mentioned earlier, prepare the wort for subsequent work with it (soaking, growing, drying, grinding). Pour 24 liters of clean water into the pan (leave 3 liters), bring the mixture to a boil, stick to a temperature of 80 degrees.
To prevent burning of the wort, make a bag of gauze 1 * 1 meter in size (fold it in 3 layers). After that, move the malt into a bag and immerse it in a pot of boiling water. Cover the container with a lid, reduce heat, cook for 1.5 hours, constantly monitor the temperature, it should be in the range from 62 to 73 degrees.
Important!
If you want to get a stronger drink, adhere to a regime of 62 degrees, if the goal is to make beer with an intense flavor, maintain the temperature at 71-72 degrees. The best option is considered to be wort at indicators of 65-66 degrees. In this case, the beer will turn out to be 4% strong with a fairly saturated and moderate flavor.
Stage number 3. Starch Check
After 1.5 hours, the must must be checked for the presence of starch, or rather, for its absence. For these purposes, take a white saucer, scoop 20 ml. Wort and pour into a container.
After that, add 2 drops of iodine solution and evaluate the result. If the color of the composition changes to blue, increase the cooking time by another quarter hour. If the shade remains the same, there is no starch, so proceed to the next step.
Turn on the heat and bring the temperature of the wort to 80 degrees. Boil the mixture in this mode for about 5 minutes, then remove the bag with the composition.
Pour the remaining 3 liters of filtered water into a separate pan and bring it to a boil at a temperature of 80 degrees. Next, rinse the bag with malt in this water and pour the liquid into the first pan.
Stage number 4. Mixing wort with hops
Bring the wort to a boil, more precisely, until the first bubbles appear. Next, add exactly 17 g. hop cones, boil the composition for half an hour, then pour another 15 g. hops. Continue boiling for 45 minutes, then add the remaining cones. Boil the mixture over medium heat for about 20 minutes, with the total difficulty you should have at least 95 minutes.
Stage number 5. Composition cooling
At this stage, there is a risk of bactericidal neoplasms in the composition of the drink, so follow the instructions strictly, do not hesitate.
Gently take the pan and transfer it to the bathroom, put in ice water and cool to a temperature of 25 degrees. This step will take about 20-25 minutes, constantly check the temperature with a thermometer.
After you have reached the desired mode, prepare a second tank, which is designed for fermentation. Fill the cheesecloth over it in 5 layers, then carefully pour the wort for the first time. In order for the composition to be saturated with oxygen, it is necessary to repeat the transfusion 3 more times from the first container to the second and vice versa.
Stage number 6. Fermentation process
Before mixing the yeast with wort, dilute them with warm boiled water and leave for a quarter of an hour to activate (the exact exposure time is indicated in the instructions). At the end of time, pour them into the must and mix well with a wooden spatula.
In order to accurately observe the temperature regime, which is so important for the preparation of home-made beer, it is necessary to familiarize yourself with the type of yeast in advance.
If the label indicates that the yeast is top fermented, they are added to the wort at a temperature of 19 to 23 degrees.
As for the yeast lower fermentation, they must be added to the wort at a temperature of 7-15 degrees.
After mixing the wort with yeast, close the container with a lid and take to a dark room. Leave on for 1.5 weeks, while constantly maintaining the temperature at which the yeast works. After 10 days, the yeast passes from the active to the passive phase, by this time the beer will become light.
To determine the readiness of a drink, use a hydrometer. Take the indicators in 2 stages, in which the second is carried out after 12 hours after the first. If the difference in samples is insignificant (hundredths), feel free to proceed with further manipulations. In cases where the performance fluctuates significantly, extend the fermentation process for another 2 days.
Stage number 7. Spill and carbonization
This stage involves the saturation of the drink with carbon dioxide, this must be done for the appearance of foam and the corresponding taste sensations.
Sterilize the bottles to be bottled, dry them and add granulated sugar at the rate of 9 g. per 1 liter of composition. Due to sugar, easy fermentation will begin, as a result of which beer will be saturated with carbon dioxide.
Place the hose in the pan so that it does not touch the bottom, walls, and surface of the drink. Hold the handset exactly in the middle. Place the other end of the hose in the bottle and fill it, 2 cm back from the neck.
At the end of the filling, close the lids tightly and place in a dark place for 3 weeks. It is important that the temperature of 21-23 degrees is constantly maintained in the room / cabinet. In this case, the last two weeks you need to shake the drink daily. When carbonation has come to an end, move the bottles to a refrigerator or cellar.
The process is completed, but you can improve the taste, if you leave the beer for another 3 weeks in a cold place. Ultimately, thanks to your efforts, the output will be 23 liters of high-quality, and most importantly, real beer with a strength of 4-4.5%.
Store the product in a cellar or refrigerator for up to 8 months closed. As soon as you open the bottle, the shelf life will be reduced to 2 days. If the bottles are clear, you should wrap them in dark bags.
Homemade Beer Recipe Without Malt
For cooking you will need: pure filtered water - 11 l., molasses - 0.55 l., live beer yeast - 150 ml., hops - 50 ml.
- Pour 11 liters of water into an enameled pan, boil for 10 minutes, then add to the stream. Reduce the heat and cook until the characteristic aroma of molasses disappears.
- Sew a small bag from gauze, put the hops there and send them into the water, simmer for a quarter of an hour over medium heat. Turn off the stove, remove the hop cones, wait for the mixture to cool completely.
- Strain the mixture through cheesecloth, pour in the yeast slowly, while stirring.
- Bottle but do not clog them. Wait until foam appears in the neck area.
- Next, remove the foam, close the bottles with lids, send the beer to the refrigerator for 7-10 days.
Juniper Beer
For cooking you will need: live brewer's yeast - 100 g., juniper berries - 800 g., clear water - 8 l., liquid honey - 180 g.
- Pour water into an enamel pan, cover and simmer for 15 minutes. At the end of the term add juniper, cook another 45 minutes over medium heat.
- Strain the composition several times through 4 layers of gauze, cool the mixture to room temperature.
- Pour in liquid honey, mix thoroughly with a wooden spoon, add brewer's yeast. Stir and cover tightly. Put the drink in a dark cupboard to ferment.
- After raising the yeast, mix the composition, bottle and immediately close the lids. Insist for about 7-10 days in a dark, cold place.
Making homemade beer is not difficult if you take care in advance of the availability of the necessary components and tools. Do not neglect the preparatory stage, it sets the direction for further brewing. Sterilize containers thoroughly and be sure to observe the temperature regime. Dry the malt naturally or roast in the oven to get the right shade of beer.
Video: brewing real grain beer at home

Submit