The content of the article
The nail industry is constantly evolving. Every season, experts invent practical and quick ways to create a pattern on the nails. One of the interesting devices is considered a stamp. It allows you to transfer the picture to the plate in the minimum time, while maintaining the clarity and structure of the ornament. Despite its popularity, many girls do not know how to use a nail stamp. To properly carry out the procedure, you must adhere to the basic rules and clearly follow the instructions.
The choice of a stamp for nails
- The process of transferring the picture to the nail by means of a special stamp is called “stamping”. The technology originates in South Korea, it was the local Konad craftsmen who began to supply decor accessories to the shelves.
- To date, stores are filled with a large number of sets, so choosing the right one is not difficult. Higher quality specimens are of high cost.
- Examine the price range at the time of purchase. Devices made in China are much cheaper. However, their quality is poor. If you need a stamp for 1 time, you can buy a similar model.
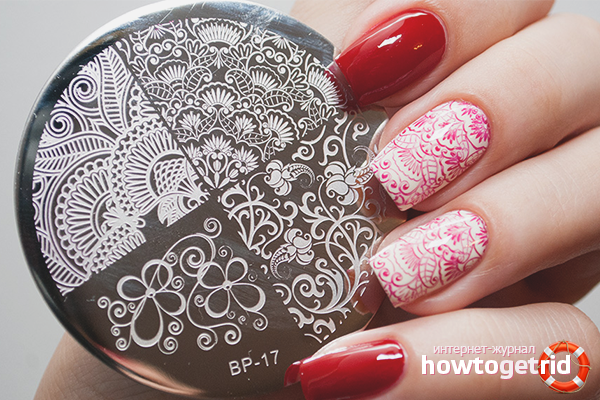
- Remove the metal disc with pictures from the packaging. Pay attention to the outline of the ornament; for good fixtures, it is clearly visible. In this case, the embossing itself has sufficient depth for the penetration of varnish.
- There should not be any visible defects, scratches or damages of any kind on the disk with pictures. Chinese manufacturing companies make low-quality plates with patterns. Their edges are not honed, so there is a chance to hurt your hand.
- Inspect the stamp itself. Its surface is usually smooth, dense and elastic. Too “loose” specimens will not ensure uniform transfer of the pattern from the plate to the nail. As a rule, when using low-quality devices, the contour is eroded.
- The kit also includes a scraper that removes excess varnish from the patterned plate. If the free edge of the scraper will have notches, you will damage the disk, further decoration will become impossible.
Tools for decorating nails with a stamp
- A metal disc comes with a stamp. As a rule, it has 4-8 prints. You will need a plate on which the drawings correspond to your idea for nail decoration.
- In the process, you need to remove the varnish from this disk. Manipulations are carried out by means of a special scraper - a scraper. It comes with the kit, so the device does not need to be bought for an additional fee.
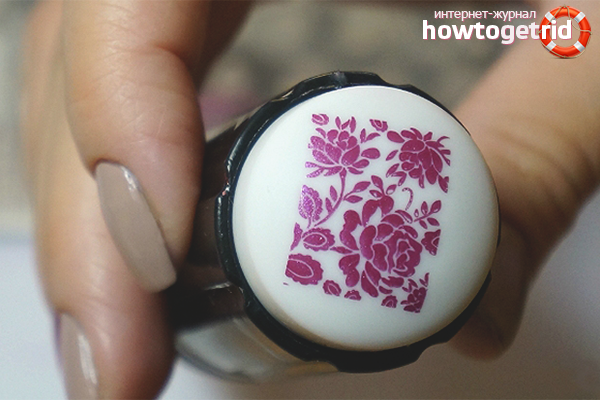
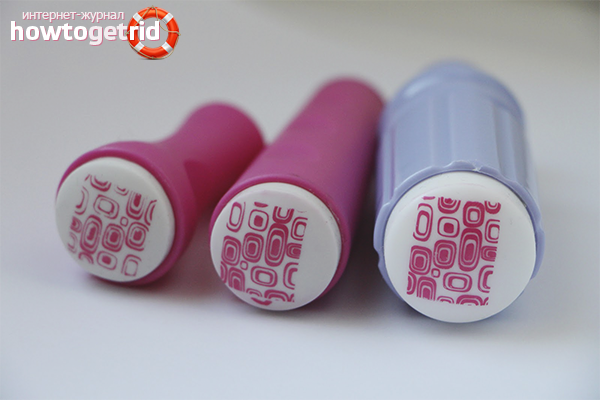
- You will need the stamp itself. The head of the main tool should be moderately tight and elastic.
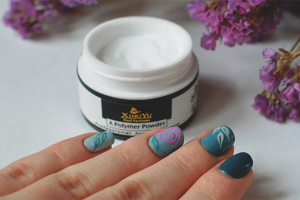
- You will also need a base for the base layers (colorless varnish), finish, varnish base and varnish, contrasting it. If possible, choose acrylic varnishes designed for stamp decoration.
Technology for using a stamp for nails
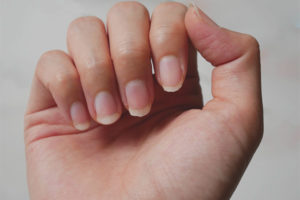
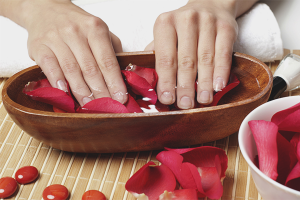
- First of all, you need to prepare your nails for subsequent manipulations. To do this, prepare a bath based on chamomile, add a little soda and sea salt. Dip your fingers in the composition, wait a third of an hour.
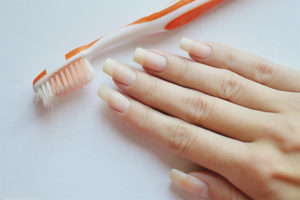
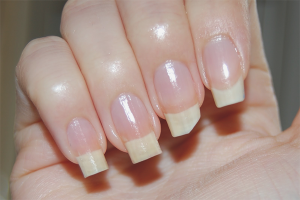
- After passing the set time, wipe your hands with a towel. Move the cuticle to the base of the nail bed. Cut it with tweezers or a trimmer. Give the nails the necessary size, adjust the shape with a glass file.
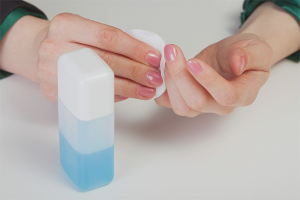
- Remove old varnish with a special liquid. Wash your hands with antibacterial soap, treat them with an antiseptic (peroxide, alcohol, vodka, etc.). Wait for the nails to dry completely.
- Apply the first coat of base under the varnish, this move will prevent damage to the plate. Now distribute the main color over the nails, on which in the future an ornament of a contrasting shade will be displayed.
- Prepare the disk for work, it comes with a stamp. Select the pattern that you want to transfer to the nails. Spread the second varnish (contrasting tone) in the picture. Wait until the entire cavity is saturated.
- Take a scraper (scraper), walk them on a metal disk, collecting the remains of varnish. You will see that part of the pigment has lingered in the cavity of the plate.
- Carry out the manipulations carefully, the scraper blade should be directed to the disk at an angle of 40-45 degrees. If you do not have a scraper, you can similarly manipulate an old plastic card (discount, debit, etc.).
- Some kits require a disc holder in the kit. The device fixes the plate, so when using a scraper, the disc does not go from side to side. This feature allows you to achieve the desired result, eliminating damage to the plate.
- Take a stamp, make sure the hardness of your own hand. In one clear motion, press the head of the device to the selected pattern. Wait 3-5 seconds for the varnish to transfer to the tool. Evaluate the result, the picture should be printed clearly and vividly.
- If everything is in order, start transferring the ornament to the plate. Press the stamp to the surface of the nail in an overlapping motion (first the first edge, then the middle, the second edge). All manipulations are carried out slowly, in one step.
- Wait some more time. Take a cotton swab, soak it in liquid to remove varnish. Wipe the periungual roller if you stained it. Now wipe with acetone the stamp, scraper and plate, removing the pigment.
- Similarly, design on other nails, including on the legs (optional). You can combine the drawings with each other, wiping the stamp after each ornament transferred to the nail. When all the fingers are decorated, cover the nails with one layer of finish, dry.
Practical recommendations
- Choose a dense and saturated varnish to fill the cavity of the disk. You need to transfer the drawing the first time. The composition should not be too liquid, otherwise it will leak from the stencil, smearing over the stamp. Also, the varnish should not be too thick. In this case, it will not fill the engraving cavity, leaving spaces in the figure.
- Act with a scraper very quickly. If the pigment dries, it will leave bulges in the figure. After covering the finish, the end result will look ugly.
- When you begin to transfer the design to the nail, keep the stamp in an upright position. Position the tool perpendicular to the surface of the plate, then press down. During the transfer, slightly rotate the stamp with pendulum movements.
- Before buying, evaluate the quality of the rubber stamp head. It should not be too stiff or, on the contrary, soft. The first option will provide only partial transfer. The second tool will smear the ornament.
Choose a good nail stamp. The kit should include a metal plate with your favorite patterns, as well as a scraper to remove residual varnish from the engraving cavity. Before decorating, prepare the nails, do a manicure. Keep the stamp upright, make sure that your hand does not tremble before applying the pattern.
Video: how to use stamping


Submit