The content of the article
The nail industry does not stand still, masters come up with new fashion designs every day. One of the options for decorating nails is rhinestone. The variety of the assortment is impressive, lovers of beautiful nails can treat themselves with colorful decorations of absolutely any shape and size. However, before talking about the final result, you need to figure out how to properly paste rhinestones on the nails. As in any other business, it has its own characteristics.
Training
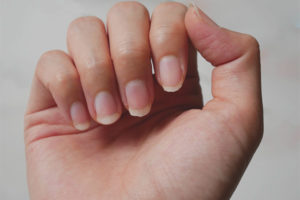
- First you need to remove the keratinized skin particles around the nails - the cuticle. To do this correctly, make a bath from a decoction of medicinal herbs (brew 40 grams of any plant in 1 liter of boiling water, let it brew, strain). Lower your fingers, wait 20 minutes. At the end of the period, stretch the skin so that the edge of the cuticle is clearly visible. Remove dead particles with manicure tongs, move on both sides.
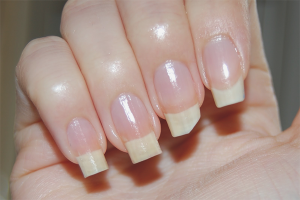
- Sterilize your hands with an antiseptic or hydrogen peroxide (can be replaced with Chlorhexidine). Remove the old varnish layer, give the plate the same length and shape. Rhinestones look very beautiful on oval and square nails with soft angles. While processing the free edge, hold the file perpendicular to the plate, otherwise the nails will begin to peel. For these purposes, it is better to use a thin glass file of low abrasiveness.
- For better adhesion of the strass to the surface of the plate, polish your nails with a buff. Firstly, you will facilitate the application of varnish, and secondly, get rid of ugly "waves". In addition, any coating lasts longer if the nail plate is pre-polished. Cover the surface with a therapeutic varnish-reinforcer in 1 layer, let it dry.
Technology
- It is imperative to wait for the varnish to dry completely, otherwise the final pattern will turn out blurry, and the rhinestones will not last long.
- When the first coat dries, proceed with applying the second. You can use both colored varnish and transparent. It all depends on personal preferences.
- The second layer is applied alternately on each finger according to the following scheme: painted, attached rhinestones, proceeded to processing the next finger, repeated the previous manipulations.
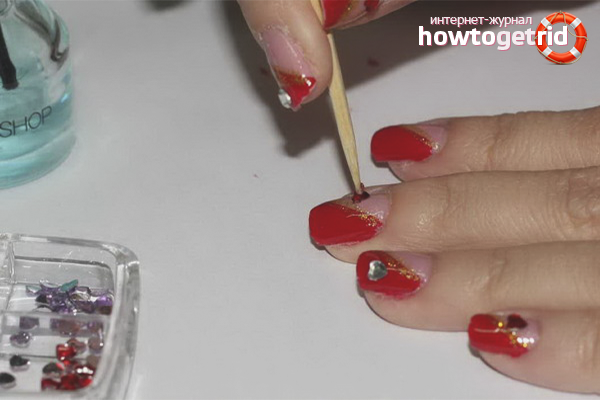
- Start the procedure with the little finger: apply varnish, take a needle and lower it into a colorless composition so that a small drop forms on the tip. Pull out the needle, bring it to the outside of the rhinestone and hook, the element will hang on the needle.
- Bring to the nail, put on the right place, press. Since the varnish dries in a short time, you need to act as quickly. Repeat with each subsequent rhinestone, then move to another finger.
- When the design of all nails comes to an end, leave to dry for 10-20 minutes. After this period, cover the plate of each nail with a fixative, so that the rhinestones hold for a long time.
Practical recommendations
- In the case of extended nails, it is better to cover the nails with a special gel or an adhesive base intended for attaching decorative elements.
- Rhinestones are removed quite problematically with the help of a liquid, which includes acetone. Moisten 10 cosmetic swabs in it, fix on each nail with food foil or film, wait 5-10 minutes.
- Do not glue rhinestones in large quantities on each nail, such a manicure looks vulgar. Select on your hand 1 finger, which will be given special attention, decorate all other nails more modestly.
- When applying a second coat of varnish, wait half a minute until it partially dries.This is necessary so that the pattern does not smear if your hand suddenly trembles.
- You can buy special glue for decorative elements in the store for nail masters. In this case, the composition is applied to the inner part of the rhinestone, then attached to the dried nail plate.
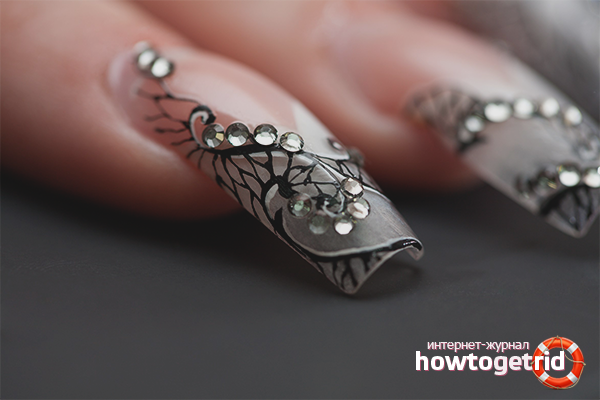
- The pattern of rhinestones on long nails looks beautiful. Pebbles can be attached to the free edge, imitating a French manicure. There is also an option when rhinestones are attached to the dividing line in the middle of the nail.
- Use rhinestones that fit your length of the nails. For example, on a short nail plate elements of the smallest diameter look beautiful and concise. Ladies with long nails are advised to stick rhinestones larger.
- When you choose the color of rhinestones, give preference to one main shade and two or three additional. Do not overload your nails with a large number of bright colors, observe the contrast.
- An important feature of nail design using rhinestones is that they look beautiful only separately from other elements. For this reason, masters do not recommend gluing pebbles in combination with sequins, sequins, foil.
- Do not drag the stones until they dry completely. If you grease a pattern, you have to redo the entire pattern. The needle that secures the rhinestones can be replaced with a toothpick.
Rhinestone Design Options
- The most common design is considered a "flower". This option involves gluing one large Swarovski rhinestone in the middle and several small at the edges in the form of petals.
- Recently, lunar manicure is gaining special popularity. In this case, rhinestones are attached on one nail over the entire surface, bypassing the holes at the base of the plate.
- As mentioned earlier, the classic jacket can be redone for evening, pasting rhinestones on the free edge of the plate.
Before using the pebbles directly, prepare the nails: file and polish them, remove the cuticle. Fix rhinestones on varnish or special glue, pick them up with a needle / toothpick. Draw a picture with a thin brush to better see the trajectory on which decorative elements will be located.
Video: how to glue rhinestones on nails
Submit