The content of the article
Hands are constantly in sight, so they must be well-groomed and perfectly clean. If in the case of a face minor defects can be masked by competent makeup, then burrs or yellowed nails can not be hidden. For this reason, many girls are wondering how to quickly put the nail plates in order and what is required for this. Let's look at the main methods and highlight the stages of cosmetic procedures.
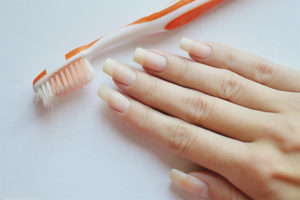
Stage number 1. Whitening and cleansing
- For manipulations, arm yourself with an old toothbrush of medium hardness. If there is dirt under the plates, make a bath.
- For its preparation you will need 20 gr. ground sea salt without perfumes, a container with water at a temperature of 40-45 degrees, glycerin or tar soap, 30 ml. lemon juice and a towel.
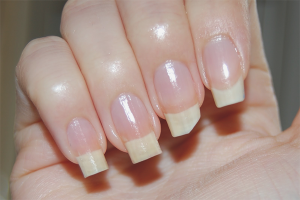
- Fresh lemon in combination with salt acts as a powerful whitening agent. Nails quickly turn white and acquire the necessary strength.
- Mix 1.5 liters. warm water with a little liquid soap or tar chips, add lemon juice and salt. Wait until the solution becomes homogeneous.
- Dip your fingers into the composition and hold them for about 20 minutes. If necessary, you can periodically add hot water. After a while, rub your nails with a brush, wipe your hands with a towel, proceed to the next step.
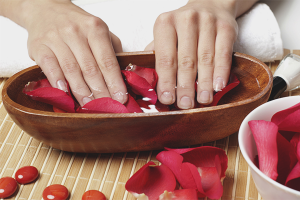
Stage number 2. Steaming and moisturizing
The second stage is no less significant. To properly prepare the nails, it is necessary to steam the skin around them and saturate it with additional components. To this end, baths, paraffin or masks are used.
- Lemon juice with linseed oil. Heat 50 ml. oil in a water or steam bath, enter 10 ml. lemon juice. Pour this composition into 500 ml. warm water, you can enter 1 ampoule of tocopherol or retinol. Dip your fingertips, wait a quarter of an hour. Then do not wash your hands, begin the next step.
- Glycerin with flour. Combine water with glycerin in equal proportions, taking 50 ml. of each composition. Pour 20 g. sifted flour and mix thoroughly. Send your fingertips in, wait 10 minutes. Then massage the skin around the plates, rinse with warm water and start further manicure.
- Yolk with honey. For the procedure, choose thick candied honey, you need 30-35 gr. Combine it with the yolk of the quail egg, pour a little flour or bran for density. Apply to steamed skin around the fingers, massage, wait a third of an hour and rinse.
- Mayonnaise with coffee. If desired, mayonnaise can be replaced with sour cream, but the first option is preferable. Mix 20 gr. coffee grounds with 30 gr. the second component, apply on fingers and massage the cuticle. Then wait another 10 minutes, rinse with soap.
- Medicinal plants. In order to steam and moisturize, you can use medicinal herbs, which are sold in a pharmacy. It is preferable to prepare a decoction of chamomile or nettle. Dip the handle in a warm solution, wait 20 minutes, wipe with a towel.
- Oil and glycerin. Need to combine 60 gr. oat flour, 50 ml. glycerin, 30 ml. sunflower oil, 15 ml. lemon juice and 35 ml. hot water. Get components of a homogeneous mass. Put the product on your hands and wait a quarter of an hour. Remove and moisturize your fingers with cream.
- Paraffin. The composition has a positive effect on the state of the nail plate, strengthening the structure. Before the procedure, paraffin must be melted in a steam bath. The temperature should be acceptable so that you do not scald the skin. Dip your hands in the composition and get it out.Wear special gloves. Wait a third of an hour. Wash with soap and cream your hands.
Important!
At this stage, you need to steam and moisturize the skin of the hands, in particular the cuticle. We recommend that you first make a bath, then a mask or paraffin gloves. This sequence will prepare your fingers for cuticle processing as much as possible.
Stage number 3. Cuticle Processing
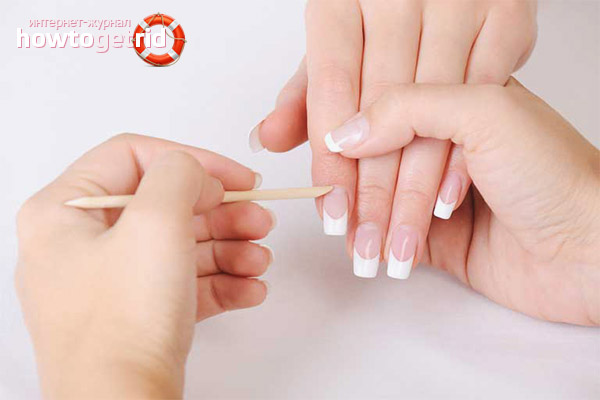
- After holding directional masks, you need to proceed to remove the cuticle. The procedure is quite simple, as the skin softened. Move the cuticle with an orange stick, and then cut it with a convenient tool. If skin is damaged, treat the area with an antiseptic.
- After moisturizing nails, it is recommended to wait a few minutes. Such a move will allow you to better see where you need to cut off the dead skin. Pay due attention to the rough dermis under the nails. The skin is easily cut with manicure scissors.
- It is forbidden to resort to the help of special tools to remove the cuticle. Otherwise, you will dry your skin. If the cuticle has grown strongly, it is enough to move and remove it.
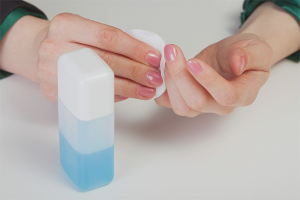
Stage number 4. Plate shape correction
- To adjust the shape, just use a professional nail file. If the branches are long nails, the excess can be removed with scissors, and then filed.
- Experts recommend using glass files with spraying. As a result, you will not encounter the problem of delamination of the nail plate. Next, polish the surface with a buff. You can apply varnish.
- If you have enough time, then you can approach the design of nails from a creative side. You can come up with a picture or resort to special stickers.
- To significantly reduce the time of the procedure, if you are a busy person, you can use a little trick. After steaming, move the cuticle and side rollers away with an orange stick. Correct the shape of the nails and rub into the surface a special oil with rose extract. Wait a third of an hour.
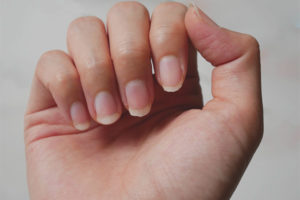
Each girl runs a household, from which her nails often turn yellow, and the skin absorbs various coloring substances. It is necessary to cleanse, moisturize, nourish the skin around the fingers with further cutting of the cuticle and adjusting the shape of the nails.
Video: how to make a manicure at home
Submit