The content of the article
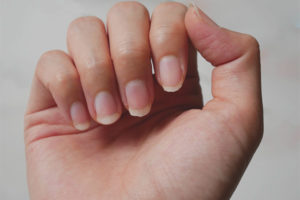
“You can't look perfect if you don’t have the perfect manicure at your fingertips.” This phrase fully reflects the essence of modern fashion. Everyday or festive style implies the presence of well-groomed, beautiful and neat nails. The fashion of modern nail art is changing by leaps and bounds. Long false nails are replaced by short, natural, rectangular-shaped nails.
As for the design, there are no restrictions. To date, the fair sex decorate nails with anything - rhinestones, beads, feathers, metal locks. If we talk about colors, then absolutely any shade can be beaten on the nails so that it will look very profitable and attractive.
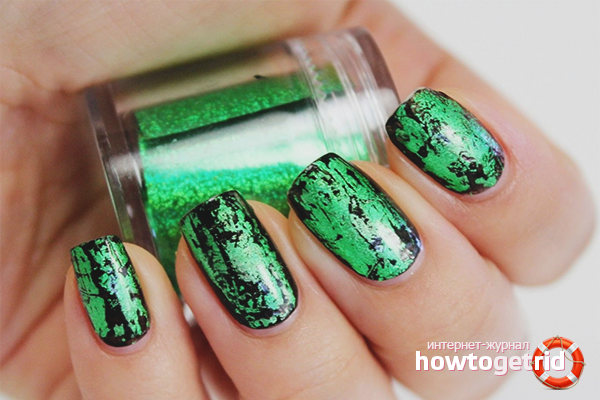
One of the trends of modern art is foil. Previously, we used foil in manicure to remove shellac coat or gel. Today, the foil received a second life, namely, it is used in the decoration of nails.
Types of Foil
For manicure, a special foil is used, which can be bought at a cosmetic store. Ordinary foil is not suitable for this. Here are the main types of foil used in decorating nails.
- The most common foil is transferable. Special decor is applied to the protective layer. The foil is applied to dry varnish or a special gel polish with a sticky layer. The foil is sold as a small roll.
- Sheet foil. This foil is not translated, but glued directly to the base. Typically, various shapes or patterns are cut from such foil.
- Embossed foil is distinguished by its texture. From it, you can cut shapes and patterns in the same way as from sheet foil. Embossed foil has a unique volumetric pattern.
- Compressed foil in appearance resembles gold leaf. But the foil does not have to be gold in color. Various shades of compressed foil are sold in jars. The effect of applying such a foil is staggering.
- Minx is a modern technique for applying foil to nails. Minx foil is pieces of decorated foil cut into the shape of a nail, which are glued to the base and fixed at high temperatures.
- Among the varieties of foil, thin strips can be distinguished, which are used to decorate the finished manicure. A strip a few millimeters wide is sold in the form of a skein, it can be of a different shade.
So, having figured out the types of decorative foil, you can begin to use them.
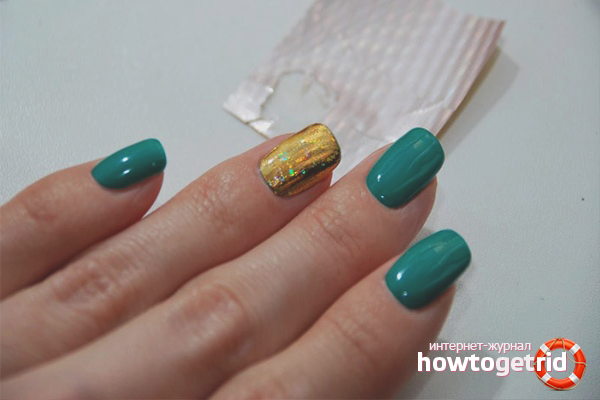
How to use transfer foil
If you are using foil in a manicure for the first time, it is best to start with a transfer base. It is easy to apply, and the end result looks simply gorgeous. Using transfer foil, you can make a holographic manicure, as well as manicure with various patterns and drawings.
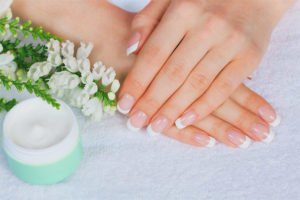
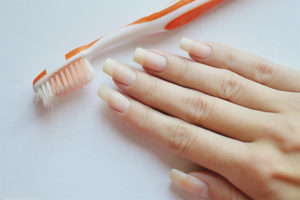
- To get started, prepare your nails for the upcoming manicure. Steal and move the cuticle, cut off the excess skin. Nails need to be polished and given the desired shape.
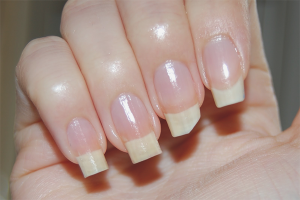
- After that, the nails are coated with ordinary varnish as a base. If the foil is solid, then you can cover the nails with colorless varnish. If the foil is textured with patterns, you can apply a contrasting color to the nails.
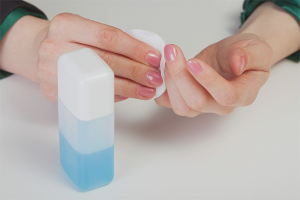
- Wait for the varnish to dry completely. Then on top of it you need to apply a special adhesive for the foil. It is usually sold in the same stores, often bundled. Some girls use regular PVA instead of special glue. But this is not recommended, because this glue is harmful enough for nails, it destroys their structure. It is better to use a special glue adapted for nails.
- The foil should not be applied immediately, but after some time, when the glue is partially dry. You will understand this by its color. When it ceases to be whitish, and becomes transparent, then it's time.
- Cut a small piece of foil from the roll and attach it to the nail with the translating side. If you can’t tell by eye which side to glue, just scrape off the shiny layer slightly. From which side it leaves, that side and glue.
- Carefully use a cotton swab to smooth the foil. Make sure that all areas fit snugly on the nail plate.
- After that, quickly but gently tear off the protective layer. The whole foil pattern will be on your nail.
- There is much debate about whether to fix the foil with a top coating. In fact, it is worth keeping the manicure as long as possible. However, if you do not want to lose the shine of manicure, the top coat should be applied no earlier than 3-4 hours after applying the foil.
This simple algorithm will help you apply foil to your nails, even if you have absolutely no experience. You can remove the foil using ordinary nail polish remover. Thermofoil differs when applied in that it is usually heated to fix it on the nail plate. This can be done in a UV lamp, or simply flush nails with a stream of hot air from a hair dryer.
How to make a moon manicure using foil
Lunar manicure is one of the modern trends in the art of nail decoration. Of course, it can be done with ordinary varnish, but with a foil, such a manicure is flawless.
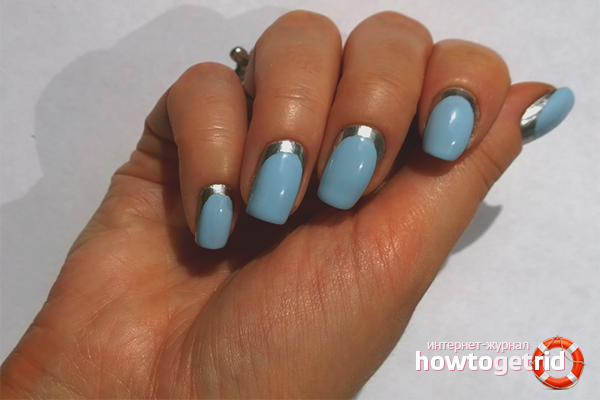
To begin with, the nails need to be put in order - to remove the cuticle, cut off the burrs, file the shape of the nail plate. After that, the adhesive is applied to the base of the nail with a width of 3-5 mm. When the glue dries, foil is applied to the base. For moon manicure, it is best to take gold and silver shades that are combined with matte black, beige and white colors. After the protective layer of the foil is removed, it is necessary to put a stencil on the nail and paint over the entire length of the nail with a contrasting color. It can be a regular varnish or shellac coating. When the moon manicure is completely dry, it is covered with a top layer to preserve the beauty for a long time.
Why the foil is not translated
But often the foil does not translate if you glue it too quickly on the sticky layer, without waiting for the glue to set enough. After applying the adhesive, be sure to wait at least 3 minutes. When gluing the foil, the glue should not be liquid, but sticky. After applying the foil, you do not need to hold it for a long time, tear it off immediately, after careful expansion. Following these simple rules, you can stick even the most capricious piece of decorative foil.
Foil for manicure is an immense stream of imagination. By combining foil with other decorative elements for manicure, you can get compositions that are unusual in beauty and design. After all, nails are a canvas that you can cover with real art. Try, experiment, dare, and you will be able to conquer all the sophistication of your nails.
Video: how to print foil on gel polish
Submit