The content of the article
Nowadays, healthy eating has ceased to be a fashionable chip. More and more people think about what gets on their plate daily. One of the directions of healthy food is the use of sprouted grains, namely wheat. But not everyone knows how to do it right. Instead of nutritious and useful mass, a stinky unappetizing sour milk is obtained.
How to germinate wheat at home? In principle, not so difficult. Observing several important conditions, you can significantly diversify your diet and get natural beneficial elements directly from the windowsill, without leaving your home.
First you need to decide in which phase the germinated grain will be used. There are two options: whole or only green. The principle of initial germination is the same in both cases, but the timing and methods of use vary.
Choose wheat
After you have decided on the method of use, you need to choose the grain. You can purchase it:
- On the market. The cheapest purchase. You can carefully consider the wheat, smell it. It does not guarantee that the grains did not undergo preplant treatment with chemicals. Where and how they were stored is also unknown. But there is no need to immediately buy a large batch. You can buy a small handful and see what happens.
- In the shop. It turns out much more expensive. But then there will be 100% certainty that the grains are untreated and can be safely eaten. By the way, also comes across with small debris and chopped seeds, which are no longer suitable for germination. Wheat is selected in transparent bags so that the contents are clearly visible.
- In the Internet. Not recommended. Buying a pig in a poke for a lot of money. The risk is great to get an absolutely substandard mixture of incomprehensible production. However, if there are good recommendations from friends who have already tried such a purchase, then they also choose this option.
In general, devotees of healthy nutrition do not save on this very diet. Therefore, they are bought in stores. Or have already secured support in personal subsidiary plots that plant wheat for themselves. This is cheaper and safer.
Preparing Grains for Germination
Yes, preliminary preparation is always necessary. You can’t just push wheat into the soil and wait for a miracle. Have to tinker a bit. The first step is sorting the seeds. Visible garbage, chopped and damaged seeds are removed. Then they are placed in a shallow wide container and filled with ordinary clean water. Floated grains are removed, such wheat is unlikely to germinate.
Then water with particles of small debris (it will certainly be) is carefully poured over the edge, and fresh is poured. Repeat until the liquid becomes clear. Now you can throw the wheat on a sieve or colander.
Next, you have to disinfect the grains, if they are purchased on the market. When buying in a store, you can skip this item. To do this, a weak solution of potassium permanganate is induced and wheat is poured with it for 12-14 minutes. After draining, thoroughly washed with clean water.
The preparation of seeds by soaking ends. Without any growth stimulants, wheat is poured into the usual pure, well-maintained water so that the liquid level is 2 cm higher. They are placed for 7-8 hours in a warm dark place. After this time, the grains are ready for germination.
If the air temperature is too high at this time, you will have to change the water 2 times and rinse the seeds. Otherwise, the likelihood of souring is high. Then all the work will go to dust, it is impossible to eat sour wheat.
We consume whole wheat
After all the procedures, the prepared seeds are scattered in an even thin layer in a container. They can be glass, plastic, ceramic, enameled. Only not aluminum or cardboard. It is not necessary to put anything at the bottom, it is enough to make several holes for draining excess liquid.
The resulting structure, along with the grains, is slightly moistened from the spray gun, then covered with any improvised material. This can be white paper, several layers of newspapers, cotton or plain gauze. Shelter is also slightly sprayed with water. Now all this must be put in a warm and bright place.
Usually, wheat begins to germinate in a day. Hard varieties wake up a little longer, but not more than 2 days. If nothing happened by this time, it means they did something wrong or got low-quality seeds.
During the day, you must periodically open the container and smell the contents. The smell should be specific, but pleasant. If there is a slight sour aroma or a smell of mold, then immediately wash the grains with clean water to avoid spoilage or poisoning.
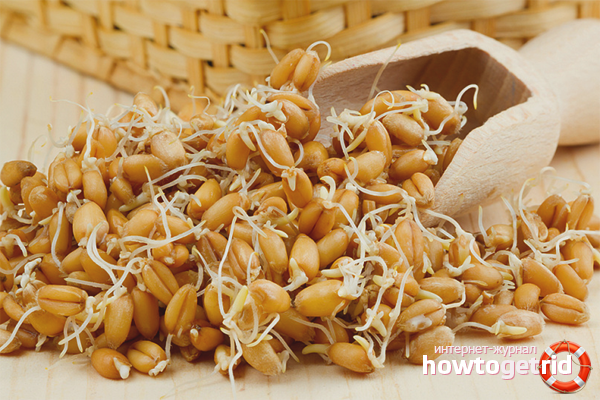
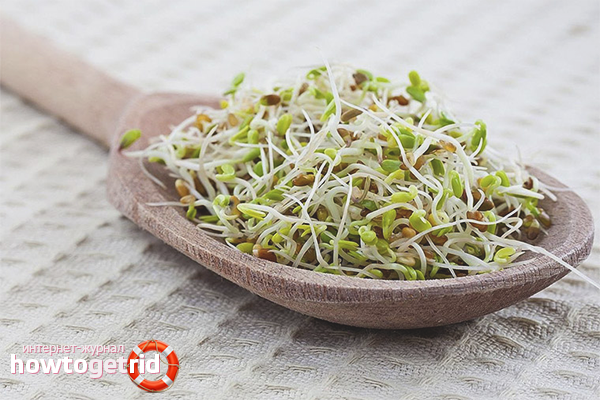
When everything is done correctly, then after 20-24 hours tiny sprouts appear. Upon reaching a length of not more than 2 mm, they can be safely consumed with grains. For example, eat whole or add to cereal.
As soon as the seedlings become more than 3 mm, they can no longer be eaten. But throwing is also not worth it. Go to the next step.
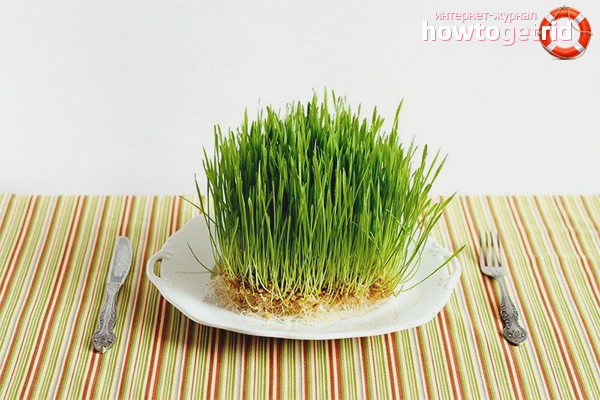
We use greens
What to do if you do not have time to eat all the germinated grains? There are two options. You can keep them in the refrigerator, but not more than a day. Or sow them to get no less nutritious greens, rich in nutrients and vitamins.
To do this, you can use soil, sawdust or just a few layers of paper. At the bottom of the sowing tank, pour earth or sawdust with a layer of at least 1 cm. Or lay loose paper. It can be toilet or kitchen towels. Smooth or newsprint will not work.
Now you need to moisten the whole thing well. Only without fanaticism, grains should not float in water. Germinated wheat is laid out in a thin layer on a substrate. If sawdust or soil is used, then they are sprinkled on top with a layer of no more than 0.5 cm. In the case of paper, wheat is not sprinkled on top of anything.
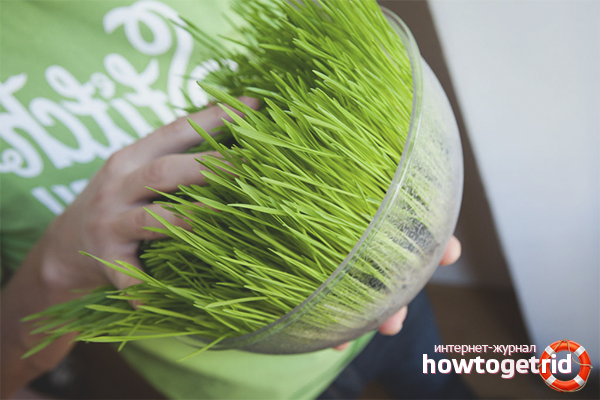
Now you need to cover the entire structure with plastic wrap, transparent plastic or glass. Then put it in a warm and dark place. Once a day, planting should be aired. Shoots usually appear on the third day. As soon as the first loops of sprouts come out, you need to remove the shelter and rearrange the container with wheat in a bright place.
Then the seedlings begin to grow rapidly. And after 8-9 days you can cut the first green. Do it with scissors. After cutting, the seedlings are gently moistened again and left to grow. In a few days they will grow up and it will be possible to take them again for their needs.
Typically, such young greens are used to make salads, as part of a smoothie, or as a sprinkle for main dishes.
Cut greens grown in the soil can be up to 4 times. On sawdust - 3 times. On paper - no more than 2 times. No, wheat continues to grow further, but it no longer carries any nutritional and vitamin value.
The most optimal length of sprouts for consumption is 12-14 cm. If it is less, then it will not have time to gain the right proportion of vitamins. If it grows larger, then it will quickly coarsen and it will have to be chewed for a long time and hard.
Some useful tips
- Never ask the seller about the expiration date of wheat if they intend to purchase on the market. He can say anything. Up to the point that the harvest is finished this morning and the wheat is freshest. Focus on color and smell. The grains smell almost nothing, the color is dark beige or golden. Everything else is from the evil one.
- To consume precisely the sprouted grains, and not the greens daily, you will have to use the streaming method. In order not to get confused in an infinite number of containers and not overlook the overgrowing, they simply sign each vessel. Enough bookmark date and time.
- How much wheat to germinate? The recommended daily dosage for one person is 2 tbsp. l From this volume and count. You can eat more, it does no harm. Less is also possible, but impractical, since the benefits are too small.
- There are recommendations to germinate wheat directly in a glass jar, pouring it with a sufficiently thick layer. We do not recommend doing this. Because the bottom layer of grains suffocates from a lack of oxygen. And the rate of germination of the layers will be very different.
- For the same reason, seeds cannot be poured into containers in more than two layers. It is better to put two dishes, but sprinkle the wheat thinly than to separate the sprouted grains from the ones that have not yet hatched.
- Some sources claim that if a cloudy film appears on the surface of the liquid while soaking the grains, this is a sign of pesticide treatment. This is only partially true. A cloudy film may also appear if the water itself is of poor quality with impurities of chlorine or hard. Poorly washed wheat also causes turbidity.
- Another recommendation: germinate wheat in the refrigerator. This will help prevent spoilage and mold. Doubtful advice. Firstly, the germination period in the refrigerator is almost tripled compared to a warm place. Secondly, if you do not rinse the grains, then they will grow moldy and deteriorate even in the most sophisticated refrigerator.
- The use of juice of green sprouts or sprouted grains is great. Just do not abuse it. Only 30 g of liquid (milk) per person is sufficient per day.
- Periodically, it is required to spray the wheat planting on the greens with the settled water. If you just cut the seedlings and not moisten them, then they will slow down their growth and will soon dry out.
How to germinate wheat at home? It’s not difficult at all. Wide capacity, clean water and grains - that’s all you need to get valuable vitamin greens or tasty healthy grains.
Video: how to germinate grains

Submit