The content of the article
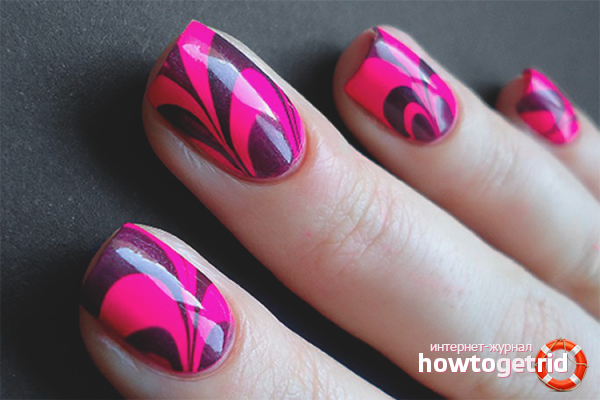
The nail industry does not stand still, every few months, experts come up with new technologies for painting and design. Fashionable novelties instantly win recognition from beautiful ladies. Girls adopt stylish ideas, wanting to perform the procedure at home. One of the trends in the nail industry is water manicure. Bright design will not go unnoticed, it is only important to follow practical recommendations and follow instructions.
Necessary materials and tools
- glass file of small abrasiveness;
- a bowl or container with a recess;
- cosmetic swabs, cotton buds;
- base for color coating;
- topcoat;
- 2-4 colored varnishes of liquid consistency;
- skewer, thick needle or toothpicks;
- greasy cream, scotch tape or electrical tape;
- nail polish remover without acetone.
Water Manicure Technology
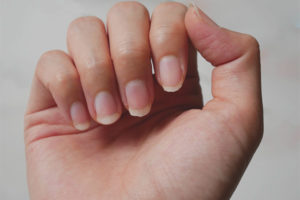
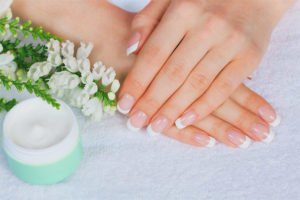
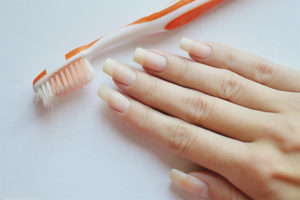
- The main feature of water manicure is the preparatory stage. The surface of the nails should be perfectly smooth, smooth it with a glass file. Disinfect your hands, remove the cuticle in a convenient way and shape the nail plate.
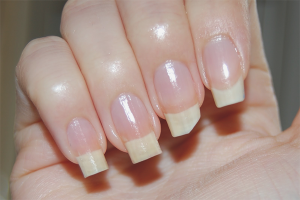
- Cover your nails with a colorless base, wait for the first layer to absorb and apply the second. As an option, you can apply a second layer of color or white base, such a move will make the design more vivid.
- Water manicure is distinguished by its specifics. To facilitate the task and correctly carry out the procedure, take tape or tape. Cut them into wide rectangular strips and glue the area around the nail plate. Put strips on top of each other to maximize the semicircle. Make sure that the skin on the fingertips is protected. If you do not want to bother with duct tape or scotch tape, use the usual greasy cream (you can use a baby cream). Apply it abundantly to the area around the nails, avoiding contact with the plate.
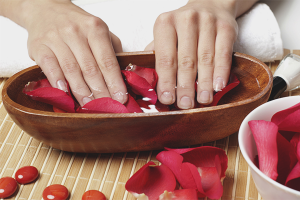
- Take a deep bowl and draw filtered room temperature water into it. Be careful when using hot or too cold water, a manicure will not work.
- Preparing the composition of the day of the procedure requires perseverance and attention to detail. Prepare a few colored varnishes, shake and take the first one. Put the mixture on the brush and bring it to the center of the bowl, the drop should fall into the water. Wait 10-15 seconds until it spreads over the surface.
- Open the bottle with a different color, draw the varnish onto the brush and position the hand so that the drop falls into the center of the circle formed from the first shade. Wait a while before spreading the composition.
- Take the varnish of the next shade and repeat the previous manipulations. Direct the drop to the center of the last color used. After all the shades have been mixed, wait 20 seconds.
- To make the color saturated, you can increase the number of drops, for example, add them not once, but 3-4 times. In this case, it is not necessary to drip them into the center (if the quantity is more than 1), create a picture by random mixing. If the composition does not spread well in water, draw a thick needle along the tangent edges of the bowl.
- Proceed to create a pattern. If you want to create a star-shaped pattern, place the toothpick exactly in the center of the formed lacquer surface. Draw the first line to the edge, pull it out of the water. Return to the center again, draw a second line to the edge (the distance between the lines should be at least 1.5 cm). Repeat until you get the desired result.Do not immerse the toothpick deep in water, work only with its tip. Clean the wand after each drawn line.
- To create a floral pattern, place a toothpick at the edge of the bowl, touching its walls. Slowly move your hand toward the center, hold for 2 seconds and carefully pull out the appliance. Come from the other end in the same way, again lead the tip to the center. After each line drawn, wipe the toothpick with a cotton pad and nail polish remover.
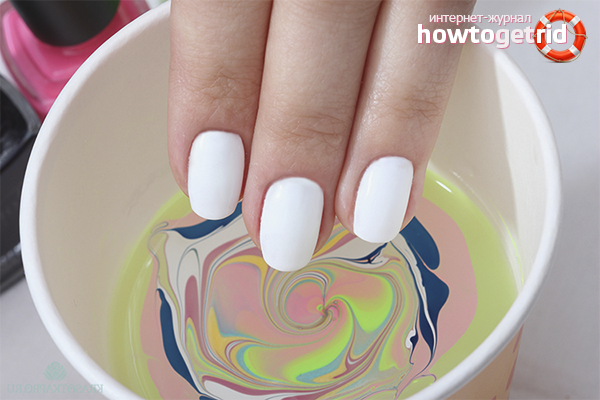
- After correcting the pattern, you can begin to transfer it to the nails. Begin by treating the little finger, alternately advancing to the other fingers. Place the nail parallel to the varnish surface and slowly immerse your finger in water. At the same time, put a toothpick in the container and wrap excess varnish on it so that the pattern lies on the plate evenly. If you want an eccentric pattern, lower the nail perpendicularly, not parallelly.
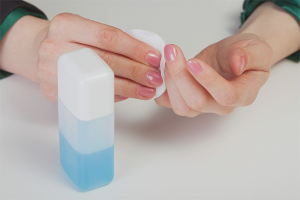
- Take your hand out of the water and begin to carefully remove the electrical tape / tape. Be careful not to touch the nail plate, otherwise everything will have to be redone. After removing the sticky protection, clean the skin with nail polish remover and a cotton swab.
- Transfer the pattern to the other fingers, then proceed to the processing of the other hand. At the end of the manipulations, cover the plate with a colorless topcoat to enhance the brightness. If desired, it is allowed to use flickering base, sequins, rhinestones and small sequins. Experiment!
Practical recommendations
- Choose a wide and tall bowl. Otherwise, there is a risk that you will touch the edges and start the procedure again each time. Also, there are cases when girls in a hurry spill the contents onto clothes.
- In spring and summer, give preference to bright shades of the base for water manicure. It can be yellow, red, light green or blue. In winter and autumn, limit yourself to gentle pastel colors, pink or white.
- When you pass your finger through the water, be sure to collect the rest of the coating with a toothpick. Such a move will not allow the picture to spread and make the contours of the flower / star clear, not blurry. In another embodiment, the remains will lie on top of the main pattern and block it.
- Water manicure can be performed on long nails. The technology looks beautiful if you omit only the free edge of the plate. To make the transition clear, stick strips for French manicure on the nail and fix them with electrical tape or scotch tape.
- Do not immerse your fingers deep in water; always protect your skin. To remove varnish from the cuticle, use the tip of a toothpick, displaying it in a semicircle. Also, a toothpick can be replaced with a glass nail file, its edge is not sharp and suitable in width.
- So that the varnish does not spread on the treated nail, carry out the procedure in turn. First lower the first finger, collect the excess, clean it and leave it in a horizontal position until it dries completely. Only then proceed to the manicure of the remaining nails.
- If you are left-handed, start the procedure with your right hand. If the right-hander - on the left. This is especially true for girls who do not have any experience in nail design.
- Do not overdo it with exposure to varnish in water. It is necessary to prepare the composition no longer than 1.5 minutes, after this time the colors begin to mix and the pattern is blurred. Try to quickly drip the composition and display a pattern on it.
- For water manicure, only liquid varnishes are used, which spread out in a short time. If for certain reasons you have thick, add 4-6 drops of nail polish remover to the water. You can also pour it into the bottle itself with the base, but in this case you risk spoiling the varnish.
- Prefer only a professional series of tools. As a rule, their consistency is uniform, similar varnishes suit each other in chemical characteristics and last longer on nails.
- Pour exclusively room temperature water into the container.If the liquid is too cold, the varnish in it will not spread, and if it is hot, it will coagulate.
- Ladies who prefer shellac to regular varnishes are not forbidden to use it in water manicure. To do this, first degrease the plate and cover it with a base under the main surface. At the end of the procedure, dry the pattern in a UV lamp until it dries completely.
Prepare the necessary tools and materials. Always clean a toothpick after drawing lines to avoid color mixing. Do not delay with the preparation of the composition, otherwise the picture will be blurry. Begin treatment with the little finger, gradually moving to the rest of the nails.
Video: water manicure at home
Submit