The content of the article
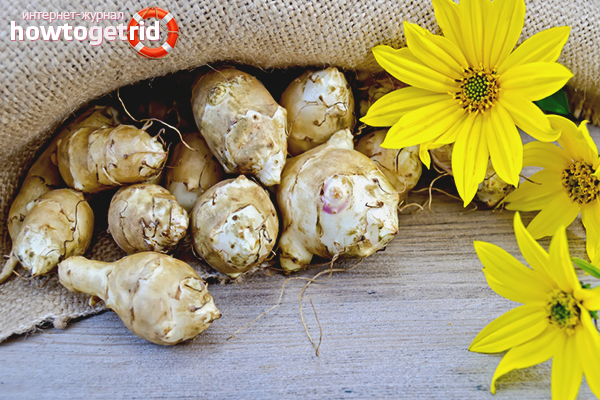
How to store Jerusalem artichoke? Very carefully. Unlike other tubers, Jerusalem artichoke has too thin a skin that is damaged even by simple rubbing with a finger. And if root crops also turn over, then they will begin to deteriorate in three days.
Popular wisdom has long come up with several reliable ways to keep Jerusalem artichoke until spring:
- freezing
- drying
- paraffin
- natural shelter
- trench method
- basement method
Each of them is good enough, it allows you to save tubers with virtually no loss.
Freezing
They dig up Jerusalem artichoke and wash it. Here you can not especially stand on ceremony with the peel, because it is not needed. Then the fruits are peeled, cut into slices, cubes, plates - as you like. Stacked in a bag for freezing or a special food container. Clean in the freezer. Such root crops can be stored all winter.
Tip. Freeze Jerusalem artichoke in small portions, at a time.
Dried Jerusalem artichoke
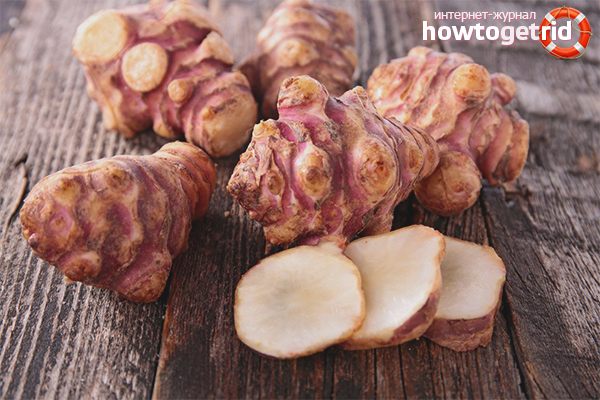
Tubers need to be dug and washed. Then peel, cut into thin plates or strips. Dried slices in the oven or outdoors. It is worth remembering that direct sunlight is harmful to Jerusalem artichoke, both for dried and fresh.
Tip. Contrary to the erroneous opinion, after drying, the tubers retain all the nutrients, minerals and vitamins.
Waxing
Then, in an accurate, quick motion, they dip the tubers into melted paraffin. If you can get a special food - it will be generally fine. For lack of such, you can do the usual, candle. After the top crust has hardened, carefully lay the prepared Jerusalem artichoke in cardboard boxes or wooden boxes.
Cleaned in a basement, underground or cellar. If you plan to preserve root crops in an apartment environment, then a place under the bed or the lower shelf of the cupboard is quite suitable. An insulated balcony will also work.
Tip. It is recommended to do waxing in a cool room so that Jerusalem artichoke cools down as quickly as possible. Overheating is more fatal to him than cold.
Natural storage
The most frugal and reliable way to store. For use, they dig up the right amount of tubers, the rest are left untouched in the ground. If the climate suggests the onset of frost below 30 ° C, then from above directly onto the soil, you can additionally throw leaves or spruce branches. For shelter, cardboard, old ruberoid, plywood are suitable.
Once the Jerusalem artichoke is over, you can go and dig up new tubers. Of course, it will be somewhat problematic to pick frozen ground, but the fresh fruits of their own labor.
Tip. It is recommended to mark the places of "burial", so that in winter you do not have to dig up the entire site with the help of scrap and well-known expressions.
Trench cleaning
If it is not possible to leave an earthen pear for wintering in natural conditions, and there is simply nowhere to store it at home, then trenches will always help out.
They are cooked in the fall, when the earth has not yet frozen. Dig a hole or a short trench 50 cm deep. Sawdust or dry leaves are poured onto the bottom. Dry, intact tubers of Jerusalem artichoke are laid in two layers. 20 cm of soil, sand, straw are poured on top, covered with a thick film, pressed on top with another layer of soil.
For added convenience, you can put each bush in a separate rag bag or wrap it in burlap.
Now you can not worry, root crops will live well until spring. In winter, getting them will be very easy. Raise the edge of the film and dig out the right amount, close it back.
The main danger with this method of storage is the mouse. They also like to feast on juicy tubers. There are two outputs:
- Put special poison in the straw. It is inhumane, but very effective.
- In a trench mixed with an earthen pear, dry burdock inflorescences are thrown. Effectively and humanely. Mice really do not like when something clings to their coat and will no longer come.
Tip. To prevent meltwater from flooding the mini-vault in the spring, they dig a shallow ditch in a circle at a distance of 40-50 cm from it.
Basement or cellar
If you are lucky enough to be the owner of a cellar or basement, then the task of how to store Jerusalem artichoke is not worth it.
Here, in general, there are a lot of options, each of them is light, requires little cost and effort:
- Dip in a container with sand, where carrots are usually stored.
- Dig the whole Jerusalem artichoke root with tubers without breaking. Directly placed in the ground in a container suitable in size. Placed on the floor.
- No tanks? Ordinary boxes will do. You just need to pour moss, peat or sawdust on top.
- Lubricate the roots with clay mash, dry. Carefully laid out in dense plastic bags. Knotted, trying to leave as little air as possible.
The most important thing is to leave 10 cm long stumps of the plant. So root crops retain more nutrients.
If there is no cellar or basement, then a cool pantry or an insulated balcony will do.
The optimal temperature with this storage method is + 2-4 ° C. If possible, you need to regularly inspect the bookmarks in order to notice in time the onset of the putrefactive process. Jerusalem artichoke is a succulent plant, it can also deteriorate.
Tip. Beets and potatoes are bad neighbors for root crops. It is recommended to place them away from each other.
Useful Tips
- Jerusalem artichoke must not be rubbed to remove dirt. It can only be shaken off. The same goes for drying. Let it dry naturally. Even the softest cloth rags the skin.
- If it is not possible to somehow keep the earth pear fresh, then there are a great many recipes for the preparations. After heat treatment, some of the substances are lost, but inulin (namely because of it the plant is so valued) will not go anywhere.
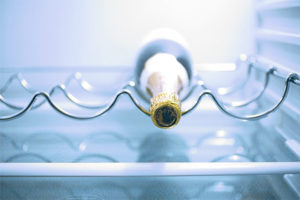
- In the refrigerator on the shelf for vegetables, tubers are stored for only 4 weeks.
- If the storage method is chosen in a natural way, it is recommended to cut off the entire tops. Only stumps 12-15 cm high are left.
- It is advisable to use an earthen pear until March-April. With the onset of heat, the tubers give the kidneys, growth begins. For food purposes, such root crops are no longer suitable.
- Dried slices or straws are best stored in glass jars with a tight lid.
- People suffering from flatulence can stop worrying about the safety of Jerusalem artichoke. They simply cannot.
- Humidity during storage after digging should be at least 85%.
- For the trench method, you can use plastic flower pots or buckets. So it will be more convenient to get an earthen pear in the winter. Gently pulled the handle and you're done!
- You cannot store Jerusalem artichoke directly on the concrete floor of the cellar. Cement absorbs moisture well, so the tubers dry quickly.
- Carefully inspect each tuber before laying. You need to use primarily damaged or scratched.
Following the recommendations, with due dexterity, you can enjoy the taste of fresh Jerusalem artichoke until April. And how much benefit the body will receive during this time - simply cannot be described.
Video: useful properties of earthen pear


Submit