The content of the article
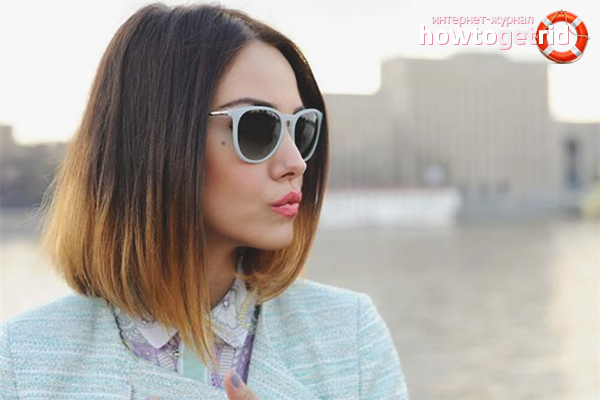
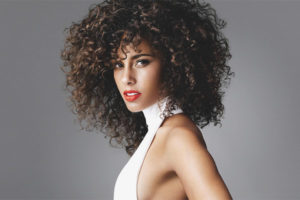
Hair coloring using the ombre technology allows fashionistas to change their image in a short time. Girls have the opportunity to look stylish and at the same time natural, since the native hair color is partially preserved. Ombre visually stretches the face, allows you to use any shades from pastel to extravagant, gives the hairstyle extra volume. Hair dyed using this technology greatly simplifies the life of your mistress, since work or study fees are held in a short time, without requiring complex styling.
Preparation for the staining procedure
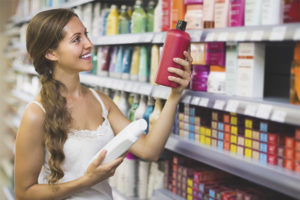
- At your disposal all the shades of the rainbow. However, to make the ombre look natural, it is recommended to choose a dye that differs from the native hair color by 2-3 tones, not more.
- Before starting the procedure, change into old clothes or use a waterproof apron. The rule applies not only to ombre staining, but also to other types.
- Buy one or two pairs of rubber or plastic gloves in advance if they do not go with the paint. The components that make up the drugs mercilessly affect the skin of the hands. Be careful.
- Two weeks before the procedure, take care of your hair in high speed. Rinse the strands daily with herbal infusion, make masks and use all kinds of nutritious serums.
- Get shampoos, balms and other natural hair cosmetics. Avoid products containing sulfates and parabens.
- If you already have dyed hair, do not use color preservatives for some time. These include sprays, serums, shampoos, balms and masks. Such cosmetics retain paint in the hair shaft, so the result of the ombre can be unpredictable.
- Go to the hairdresser and get rid of all the cut hair. Otherwise, the staining will look messy and ugly.
The process of dyeing hair using the ombre technology
Prepare the necessary tools:a kitchen sponge or brush for applying, a glass container for diluting the composition, plastic or rubber gloves, a wooden or plastic comb with small teeth, hairdresser's clips, baking paper or foil, paint or bleach, a towel, silicone rubber bands for African braids, olive, corn or Burr oil.
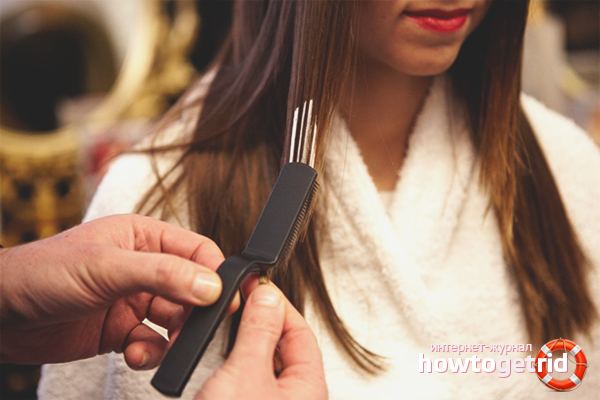
- Remove gum, hair clips, and other accessories from your hair. Using a massage brush, comb each strand, starting from the tips and moving smoothly to the roots. Now you need to determine the place from which the ombre begins. Professionals recommend not to go too high, because it will seem that you have not ombre, but strongly grown roots. The optimal transition length varies from the beginning of the chin to the shoulder line.
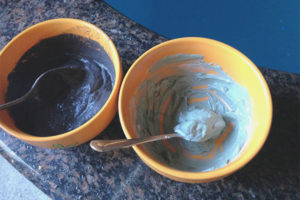
- The procedure is carried out in a carefully ventilated area. Open the windows, do not let children and pets into the room. Prepare a tool for staining. You can choose ordinary paint, it is more gentle, in addition, manufacturers produce drugs specifically for the ombre technique. If the choice fell on bleach, dilute in equal amounts of 18% hydrogen peroxide with a purchased clarifying agent in the form of a gel or powder. Bring the composition to a homogeneous mass. Such a preparation dries hair very much, but copes with the task in one procedure.
- Separate the hair with a comb into 2 partings on the left and right sides. Move from the hairline on the forehead to the occipital region. After that, make 3 ponytails using tight elastic bands.Comb the ponytails again and dissolve one of them. Divide the hair into 10 thin strands, fix each strand individually with African rubber bands. If you have thick and long hair, divide the hock not into 10, but into 12-14 sections. Now take one of ten thin strands, fix a small elastic band at ear level and start combing the strands, moving from the tips to the place of fixation. A maneuver needs to be done so that the transition from natural color to dyed hair looks harmonious, and does not form a clear line. Do the same with all 9 curls, then unfold the second tail, separate it, fix it and comb it again. Repeat the manipulations with the third tail, after which you can start applying the brightening complex.
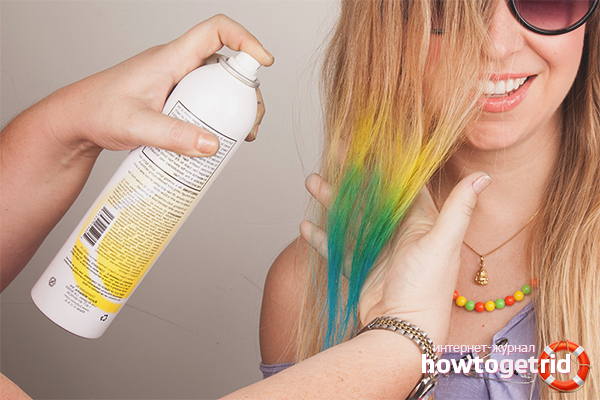
- Stir the composition again in a bowl to pick up settled pigments. Scoop a little paint on the brush, it should be slightly damp, remove excess from the edge of the container. With barely noticeable movements, brush the strands on the tips of the brush, gradually rise up to the place of combing, but do not put paint on it yet. You do not need to use a lot of clarifier in the first approach, do everything smoothly in a few steps. Now comb the colored strands with a comb and proceed to the next application.
- Dip the brush into the composition, gaining 2 times more bleach than the first time, cover the strands again, but so that they are not wet but wet. Thoroughly paint over each hair, rotate the curl in your hand, fingertips to notice unpainted areas. Move also from the tips to the roots. When you reach the place of combing, wipe the brush on the edge of the bowl and lightly move along the border of the transition. Do not push so as not to go deep. Pay special attention to the fleece, the final result depends on it. Walk through all the other curls, dye them in 2 stages, do not spend one step more than 30 minutes.
- You have evenly distributed 2 coats of paint, so you can move on to the third touch. Type a lot of clarifier on the brush, carefully paint over 4 cm. Of the ends of each curl on all three tails. After that, dip the brush in the paint and squeeze a little on the edges of the bowl. Move again from the ends up, reaching the transition zone, you should have a minimum amount of clarifier on your hand. Again, carefully process the fleece with short strokes, do the same with the rest of the curls. After that, you need to wrap the strands in baking paper or foil, but first make sure that you do not go too far with the paint in the area of the comb. Then sort out the strands with your hands along the entire length to find poorly colored areas. What you need, fix it.
- Expand the foil, use a ruler to tear it into long pieces about 8 cm wide. Make blanks based on your hair length. Now wrap each processed lock with a piece of foil, wrap in such a way as to capture 5 cm of the native color. When everything is ready, note the time, it is important not to overexpose the composition. For intense lightening, you need to keep the paint for half an hour or a little more. If you want to not bleach your hair much, wait 20-25 minutes. For those who want to achieve clarification of only 1 tone, 10 minutes will be enough. To check how much the curls lightened, you need to unfold one piece of the lock, with your gloved hands, remove a little paint in an inconspicuous area, and then evaluate the result. If you have doubts, expand one or two curls, do the same. When you are satisfied with the result, do not delay with washing.
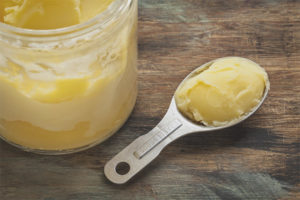
- It's time to wash off the composition. Take 2 tight elastic bands and wrap gloves around them in the wrist area, since the procedure is forbidden to be performed with bare hands. Cut African gum with nail scissors that held hair in the transition area.Lower your head over the bathtub or sink, rinse each curl with warm water, otherwise the bleach will not be washed, and the procedure will continue in the background. Direct a stream of water from top to bottom, try not to touch unpainted hair with colored strands, so as not to lighten additional areas. Now use shampoo, wash your hair not 2-3 times, as usual, but 4-5 times. After you are sure to remove all the paint, wring out the strands and apply the balm with a thick layer, wait 10 minutes. Rinse well, wrap your head in a light towel, do not rub your hair, allow moisture to soak into the fabric. After 20 minutes, spread all the lightened strands with olive, burdock or corn oil, put on a shower cap, wait another 40 minutes. Wash your hair with shampoo and balsam again, do your styling. The procedure is over, you are the happy owner of dyed hair using ombre technology!
Important Tips
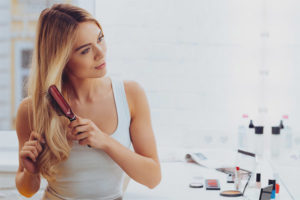
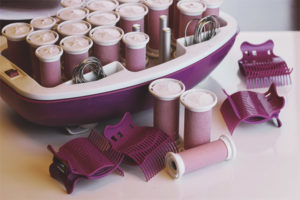
- After lightening, temporarily refuse to use the iron for straightening, curling, hot curlers. Your hair is too damaged, so let it recover.
- Four times a week do nutritious home masks, get a spray for colored and brittle hair.
- If you are not confident in your own abilities, do not make an ombre from the chin or shoulders, for the first time limit yourself to the tips. If something does not work out, you can easily cut them off.
- Owners of too short hair are advised to resort to the help of a friend. In cases where this is not possible, use the second large mirror with which you will see the back of the head.
Decided to change the image and make an ombre? Great choice! Prepare all the necessary tools, put on gloves and go. During the procedure, watch for uniform coloring of the strands along the entire length. Remember to make the transition border blurry in order to achieve a natural look.
Video: how to make colored ombre hair
Submit