The content of the article
How nice it is to go out on a balcony early in the morning with a cup of strong coffee and a couple of croissants. Enjoy the fresh air and watch the eternally busy townspeople hurry somewhere. Unfortunately, many in the winter have to be content with the usual observation from the window, since they will not be able to stay on the balcony for more than a few minutes.
In order not to deny yourself such pleasure in extreme cold, you can insulate the balcony. And to create, in this way, a warm and cozy small room where you can be alone or spend time with loved ones. The best option for heating will be floor insulation.
Why floor heating
Why install a warm floor if you can attach a regular radiator? The answer, or rather the answers, are quite simple. Firstly, the balcony already has a small area, and the radiator will take an extra half meter-meter. And secondly, no matter how powerful the heater is, it will not be able to evenly warm the air. The fact is that warm air rises. And since it is located above floor level, the bottom of the room will remain unheated.
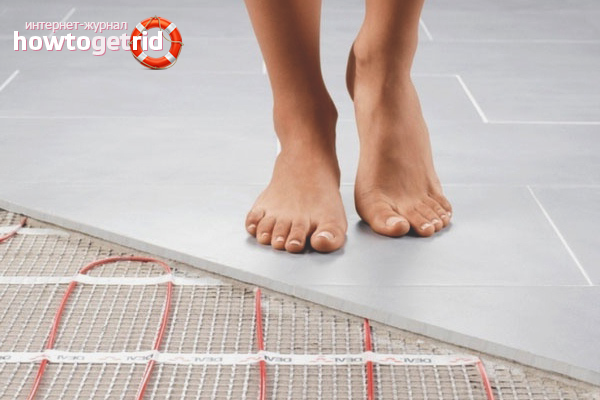
Warm floor solves both problems. Under the cover, they will be absolutely invisible, their presence will be given out only by a temperature controller attached to the wall, which is no larger than a conventional switch in size. In addition, this system evenly, from floor to ceiling, heats the room and does not dry out the air. Warm floors for a balcony are suitable for three options:
- Infrared floors;
- Special heating mats;
- Cable system.
Further, there will be a detailed description of each of them, however, first of all, you should prepare the balcony for installing the floor.
Preparatory work
So, whatever the option of insulation, the balcony in any case should be prepared for repair. What should you do first? The presence of various cracks in the walls or windows, as well as other openings through which warm air comes out and, accordingly, cold enters, reduce the efficiency of even the most modern and perfect heating system to almost zero. Therefore, the first thing to do is to close the walls and windows. If on the balcony there is still an old wooden frame, it is better to replace it with high-quality double-glazed windows, if possible. Even this procedure will already save much more heat. Now you can decide on the choice of system.
Infrared underfloor heating
If it was about heating, infrared sheets would occupy the last place in the top, since their heat transfer is much less than other options. However, on the balcony, this option will be, at a minimum, no worse.
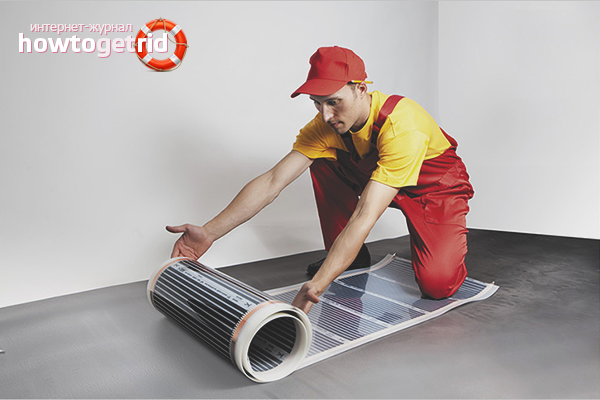
First you need to figure out what these heating elements are. This is a kind of film that consists of carbon strips sealed between layers of polyester. The principle of operation is the long-wave radiation of heating elements. Thus, the floor and furniture are first warmed up, which then give off secondary heat, which allows you to create a comfortable temperature in the room.
Advantages and disadvantages
The advantages of infrared heating elements are:
- Minimum energy costs;
- Operational installation;
- It is allowed to install under any floor covering;
- Reliability and safety.
And also quick floor heating. It takes no more than 30 minutes to fully warm up. And by choosing a quality product of a branded manufacturer, time can be reduced to 10 minutes.
It can also be noted that this system practically does not raise the floor.If we talk about the minuses, they are much smaller, and whether they are significant or not, it is up to everyone to judge in their own way. So, the disadvantages include:
- A somewhat complicated method of installing the thermostat compared to other options;
- Also, infrared warm floors will give inconvenience to owners of apartments with aluminum wiring, since it should be replaced with copper.
Installation
If the shortcomings turned out to be insignificant, and the infrared floor is the best option for you, you can proceed to install them. To begin with, stock up on the following basic tools:
- The set of underfloor heating itself;
- Thermostat and temperature sensor;
- Polyethylene film;
- Pliers;
- Double sided tape;
- Thermal insulation material (preferably with a foil coating)
After that, you can proceed to the installation. To do this, you first need to remove the old screed and level the floor with a concrete mortar. After it dries, the main work begins. First, the thermal insulation layer spreads, and heating sheets are laid out on top. With each kit there is always an installation manual. Therefore, to describe the same as there is no point. Having laid the surface with an infrared floor, on top you should cover everything with dense polyethylene, which, if necessary, will restrain moisture. The last layer will be the installation of flooring. No concrete screeds are required. Simply install a laminate, parquet or other similar material.
By the way, so that during operation, the infrared sheets do not move from their place, they should be glued with tape. However, this can only be done on the white parts of the coating.
When the floor is laid, contacts are connected to it, which should be insulated with butum mastic, and after the wire they are connected to the thermostat on the wall, which in turn should be supplied with electricity from the outlet.
Now you can turn on the system, remove warm slippers and enjoy the pleasant warmth.
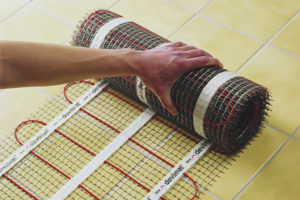
Heating mats
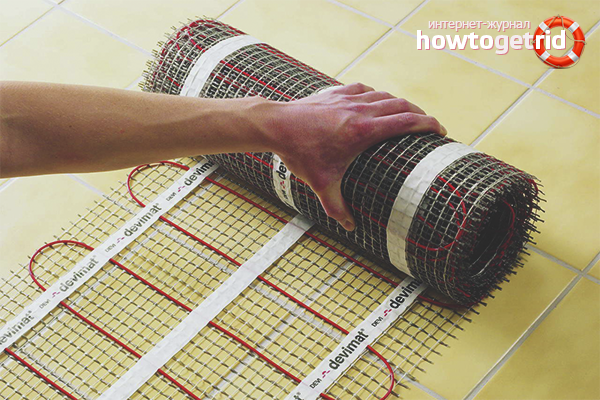
What are these mats? In fact, they represent an ordinary heating cable (which will be discussed later), which is attached to a special grill. Its main advantage is ease of installation, as there is no need to perfectly level the floor. However, the system has many shortcomings.
- Relatively low room heating. However, it is worth noting that they can cope with the balcony;
- High electromagnetic background. This leads to that. That you can’t stay in the room for a long time;
- Insecurity. If you often turn on and off the warm floors, very soon they can fail.
Installation
You are most likely brave enough to read this section. However, with proper use, heating mats can also last a long time. Therefore, it is worth learning how to install it.
- The floor is primed and a hole is made in the wall for installing the sensor. Also, with the help of a grinder, a strob for wires is made from the hole to the floor.
- After that, mats are laid out on the floor area. It is important that they have a distance of at least 5 cm from each other and about 10 cm from the wall.
- After that, a cable is connected from the mats to the thermostat, with which it will be turned on and off.
- Now you should check the system’s operability, and if everything is in order, apply the adhesive solution, and install the tile on top.
Everything is ready, but there is still an inspection of the most popular option ahead, so it’s better to read the article, and not run to the store for mats or infrared heating film.
Floor heating with heating cable
As already mentioned, this method is the most popular. The reasons for this are:
- Durability;
- Reasonable price and acceptable energy consumption;
- Well regulated.
As you can see, the benefits are obvious.Therefore, we will not dwell on them and immediately proceed to the installation.
Installation
The first step is to lay a layer of hydro and thermal insulation on a level floor, because we want to warm our balcony, and not the neighbors below. But if you get along so well with them, you can share your warmth, it's up to you.
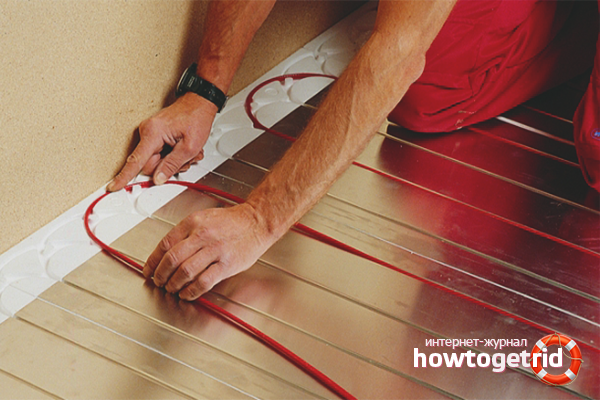
After that, the cable is laid out. There are several options for its placement, but the most suitable for the balcony is laying in a zigzag shape. Unlike the previous options, here before laying the laminate or other material, you should fill the cable with a cement screed. Which should be carefully aligned. This is where the minus of such a method manifests itself, since it takes about three weeks to dry the screed. At this time it is forbidden to include a warm floor. However, over time, you can fully enjoy the warmth and comfort.
Warm floor for a balcony or loggia will be an excellent option for insulation. And having done everything correctly, the system will last for many years. Listening to the tips outlined above, the balcony will become a favorite place for privacy even in winter (especially if you equip it with comfortable furniture).
Video: installation of a warm floor based on a heating cable

Submit