The content of the article
Watching various TV shows about repairs, as well as reading thematic articles on the Internet, we often see that when working with walls, it must first be primed. In this case, no matter what the finish coating (wallpaper, paint, tile), the wall is always primed beforehand. This, of course, is an important stage in the repair, which should not be neglected. We will definitely talk about how to do it right. But first, find out why you need to prime the walls.
Why primed walls
This section will be useful not only to those who for the first time decided to repair their own housing, but also to those who have already had to transform the rooms in the house. After all, many do not ask about the importance of the primer, but in vain.
It was already mentioned above that the walls are primed before painting, applying plaster and all other finishing materials. So, this is done in order to increase the service life of the latter. The fact is that the primer improves the adhesion properties of the coating. It penetrates deep into the pores of the wall, fills them and sticks together dust particles. Thus, before applying the finish coating, the wall becomes more uniform and strong.
In addition to increasing the service life of materials, the primer has the following advantages:
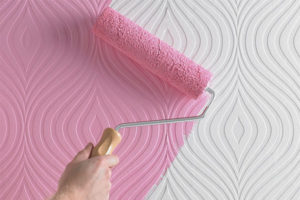
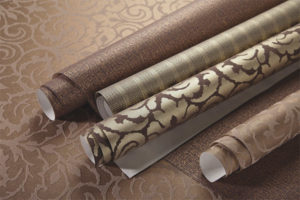
- Reduces glue consumption, which is very useful when wallpapering
- Reduces the smell of paint and allows you to apply light and bright colors on dark surfaces.
- Hides spots on the surface
As you can see, there are plenty of advantages with the primer, which can not be said about the disadvantages that are not there. Therefore, repairs should not be neglected. However, it is important to know how to properly prime the walls. And this is what will be discussed later.
Primer tools
To evenly and carefully ground the walls you will need a small set of tools, namely:
- Roller with medium pile + telescopic handle for lengthening;
- Capacity for primer;
- Paint brush.
Preparatory work
First of all, you will need to completely rid the wall of the old coating. If it was a wallpaper, then you should take care of the complete elimination of glue residues. Sometimes it is quite problematic to completely remove the material “dry” with a spatula. Therefore, the wallpaper can be pre-wetted. But if during gluing you managed to get the glue that tightly chained the wallpaper to the wall, then ordinary water can be powerless. In this case, you should go to a specialized store and buy a liquid for removing wallpaper, which even the highest quality glue will not resist.
In addition, there are some more nuances that should be considered. Firstly, walls that have recently been repaired cannot be primed. Before proceeding to this stage, you need to wait until the plaster and putty are completely dry. Secondly, make sure that the walls do not have traces of whitewash and fungus. In the first case, this will lead to peeling wallpaper. Well, with a fungus, and so everything is clear. If not removed, it will continue to spread. Therefore, the surface should be treated with special tools.
Priming walls
Before proceeding to work, you should determine the type of primer. For putty and plastered walls, an acrylic primer is best suited, and alkyd for wood surfaces. These 2 options are the most popular, however, there are other types, namely:
- Shellac primer - suitable for wooden surfaces from knotted boards.
- Polystyrene primer is suitable for both wood and plaster.However, it is not recommended to use this tool in residential premises, since it contains substances that release harmful fumes into the air.
Have you noticed that all the proposed options are used on concrete plastered and wooden surfaces? If so, then the question may arise about the need for priming metal structures. In fact, even such walls need to be processed. For this, glyptal, perchlorovinyl primers are used.
In addition, the primer is liquid and dry. In the first case, it is already fully prepared for application. Dry material will need to be diluted first with water. It is important to strictly follow the instructions.
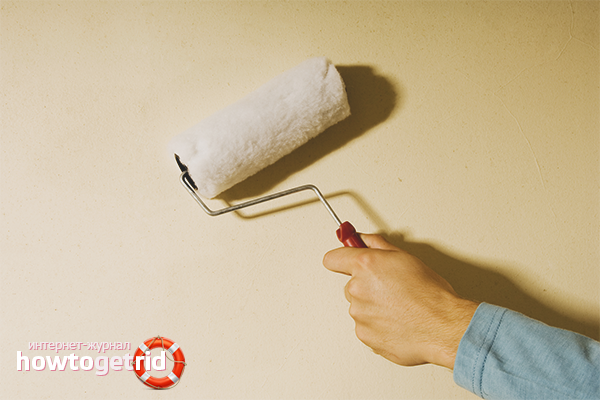
Having decided on the choice, you can go directly to the process, which is not particularly difficult. The primer is poured into a special construction bath, which has a ribbed coating. This will squeeze out the excess fluid from the roller.
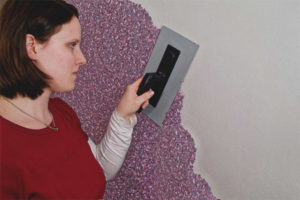
So, mount the roller to the telescopic handle, lower it into the bath, scroll a couple of times and squeeze it. After that, you begin to wield the roller on the wall. Do not forget that the walls absorb the primer in different ways. For porous coatings, 1.5–2 times more of this building fluid will be required. Anyway, it is recommended to prime any wall twice. However, the second stage should be carried out only after the first layer of primer is completely absorbed and dried: from 12 to 24 hours.
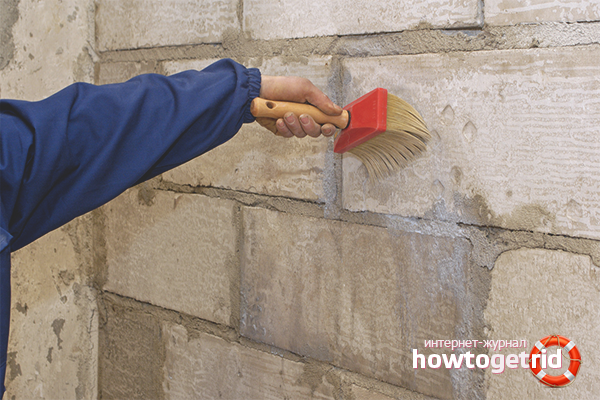
It’s easy and quick to work with the roller, but it’s still better to use a brush in the corners. In addition, if you value every minute, we’ll reveal a trick how to speed up the process a little. When wielding a roller, first only the upper half of the wall should be primed, and then the lower half. Thus, it is not necessary to shift the roller every meter. Accordingly, the speed increases. Do not forget that all areas should be evenly moistened with a primer. Therefore, every piece of the wall must be processed, and the dry parts of the coating should not be visible at all.
Primed walls should be smooth and slightly sticky after drying. After drying, you can glue wallpaper, apply paint and other materials. In this case, you can not be afraid that the appearance will soon deteriorate.
Video: how to prime

Submit